How to Install Mosaic Tiles
How to Install Mosaic Tiles
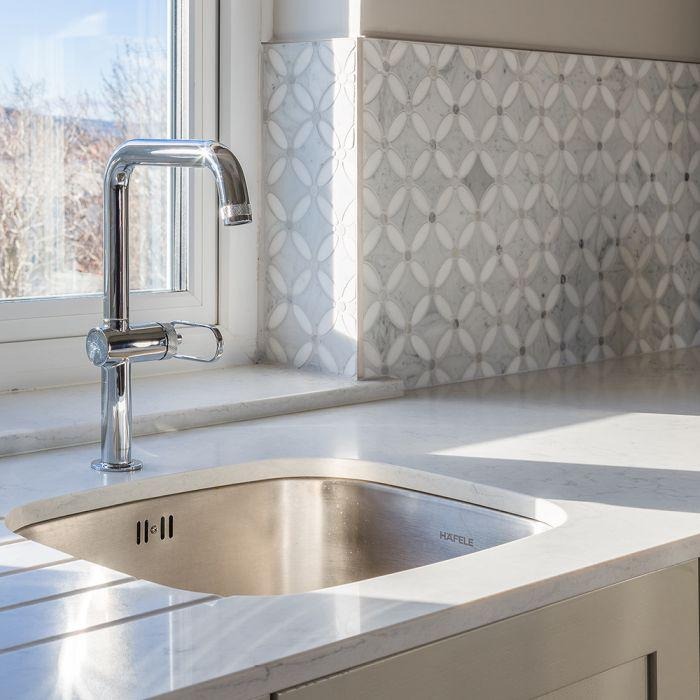
Introduction
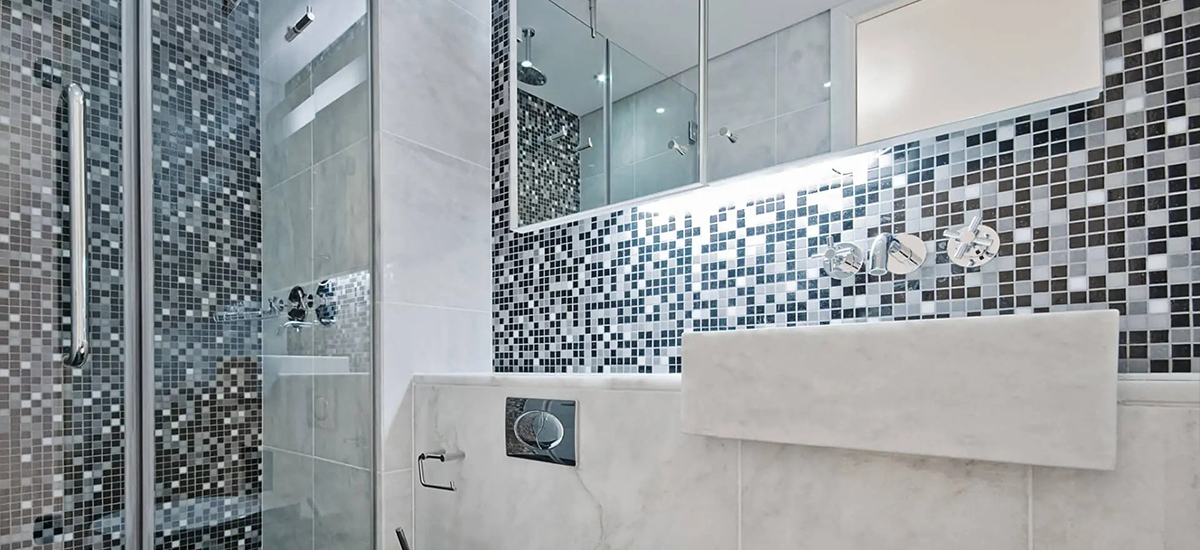
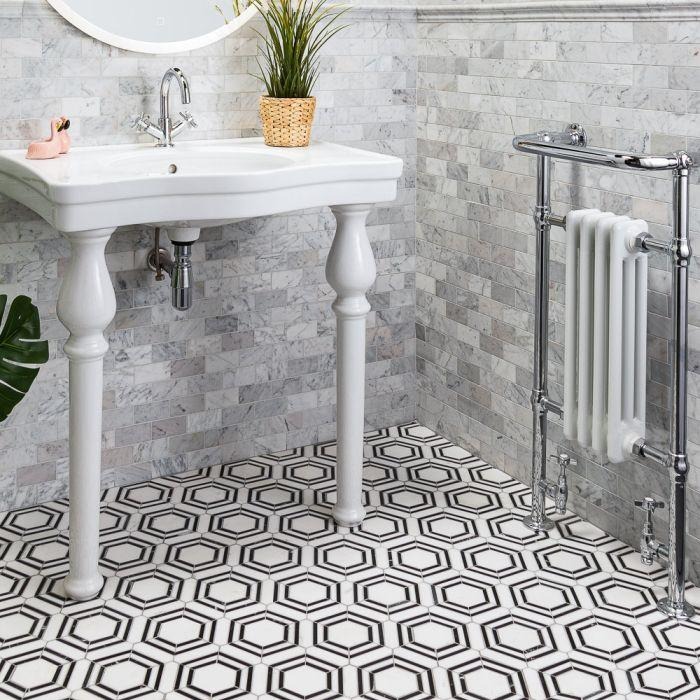
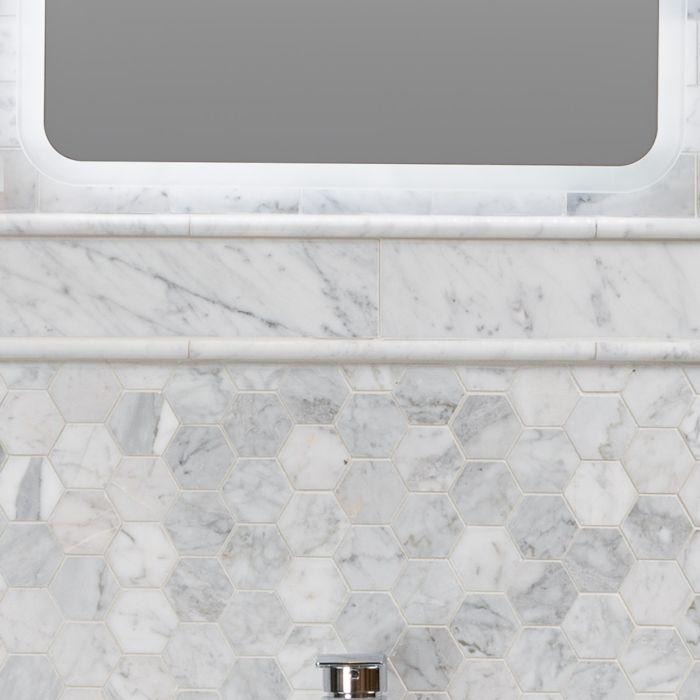
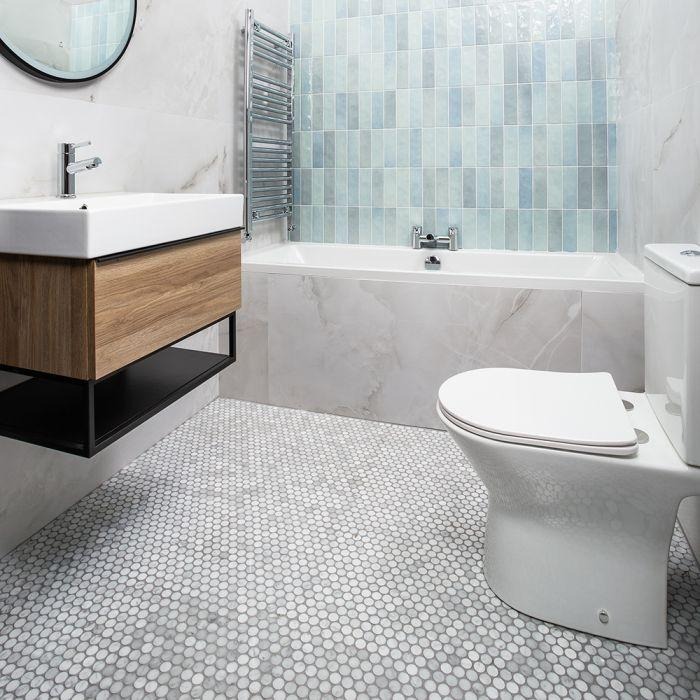
Mosaic tiles are a timeless and versatile choice that can instantly elevate the aesthetics of any space. Whether you're looking to add a pop of colour to your kitchen backsplash or create an intricate design in your bathroom, mosaic tiles offer endless possibilities. In this blog post, we'll guide you through the process of installing mosaic tiles, helping you achieve a stunning décor that reflects your unique style and adds a touch of artistry to your home.
How to Install Mosaic Tiles
Step 1: Gather Your Tools and Materials
Before you begin the installation process, make sure you have all the necessary tools and materials. You'll need mosaic tiles of your choice, tile adhesive, a trowel, tile spacers, a grout float, grout, a sponge, and a tile cutter or nippers for any tile cuts required. Ensure you have protective gear such as gloves and goggles for your safety during the installation. These tile accessories can be found on Tile Merchant Ireland website.
Step 2: Prepare the Surface
Start by preparing the surface where you'll be installing the mosaic tiles. Ensure it is clean, dry, and free from any debris or dust. If necessary, repair any cracks or uneven areas and apply a primer or sealer as recommended by the manufacturer to create a suitable surface for tile adhesion.
Step 3: Plan Your Design
Before applying adhesive, plan your mosaic tile design and decide if you want to install them in a horizontal or vertical way. Lay out the mosaic tiles on a flat surface or use a tile mat to visualize the pattern and make any necessary adjustments. This step is crucial for achieving the desired look and ensuring a smooth installation process.
Step 4: Apply Tile Adhesive
Apply the adhesive to your surface using a V-notched trowel. Use the flat side to smooth out the adhesive so that you have an even coverage. Using a trowel, apply tile adhesive to a small section of the surface, starting from the bottom and working your way up. Apply the adhesive evenly, creating ridges with the trowel. It's essential to work in manageable sections to prevent the adhesive from drying out before placing the tiles.
Step 5: Place the Mosaic Tiles
Carefully place each mosaic tile onto the adhesive, following your planned design. Press gently but firmly to ensure proper adhesion. Use tile spacers to maintain consistent spacing between the tiles and create even grout lines. Continue this process, working in small sections, until you have installed all the mosaic tiles. Be careful! You do not want the adhesive to ooze out between the tiles!
Step 6: Make Tile Cuts if Needed
Allow the adhesive to set (follow manufacturer instructions). Sponge away any excess using a damp sponge. If you encounter areas where mosaic tiles need to be cut to fit, use a tile cutter or nippers. Measure the required size and mark the tile, then carefully cut it according to your measurements. Take your time and ensure accuracy to achieve a seamless and professional-looking result.
Step 7: Apply Grout
Once the adhesive has cured according to the manufacturer's instructions (adhesive may require 24 hours to set, check manufacturer’s instructions), it's time to apply grout. Prepare the grout mixture following the manufacturer's guidelines. Use a grout float to spread the grout over the mosaic tiles, making sure to fill the gaps completely. Work at a diagonal angle to the tile joints to avoid pulling the grout out of the gaps.
Step 8: Clean and Finish
After allowing the grout to set for a few minutes, use a damp sponge to carefully wipe away excess grout from the tiles' surface. Rinse the sponge frequently and continue wiping until the tiles are clean and the grout lines are smooth and well-defined. Once the grout has fully cured, use a dry cloth to buff away any remaining haze on the tiles.
Conclusion
Installing mosaic tiles can be a rewarding DIY project that adds a touch of artistry and elegance to your home. By following these step-by-step instructions, you'll be able to achieve a stunning décor that showcases your personal style and creativity. Remember to take your time, plan your design, and pay attention to detail for a professional-looking installation.
Why Tile Merchant?
We offer extremely competitive pricing on our entire range of tiles and likewise. We stock a huge range of wall and floor tiles and our prices are competitive for retail and trade. Our stock is widely available in our tile stores in Dublin and Ashbourne (Co. Meath) which are open 7 days a week.
Alternatively, if you’d prefer to shop our tiles online, we can supply you with samples delivered for free.