
How to Install Natural Stone Paving
How to Install Natural Stone Paving
Introduction
If you decide to go for natural stone in your outdoor living space, here is a guide to best explain how to install your natural paving slabs.
Before you start laying your slabs you will need to get the necessary tools to do the job.
Firstly, you will need a measuring tape to measure out your designated patio area. You will need a wheelbarrow to transport your materials. For safety precautions we suggest that you wear protective gloves at all times while laying your patio. You will need a spirit level to determine how parallel or perpendicular your surface is.
Other tools you will need to use during this job include a pointing tool and a trowel. These tools will help shape mortar into the stone. You will need other tools to complete the job which include a rubber mallet, spade, rake, plate vibrator and a sponge.
Before you get all your tools in order you will need to get the materials necessary to lay your patio slabs. These materials are sandstone/limestone, sand, cement, water, spray paint and sub base material.
Once you have all your tools and materials ready it’s time to get down to business and get cracking on laying your paving slabs, but how do you do this?
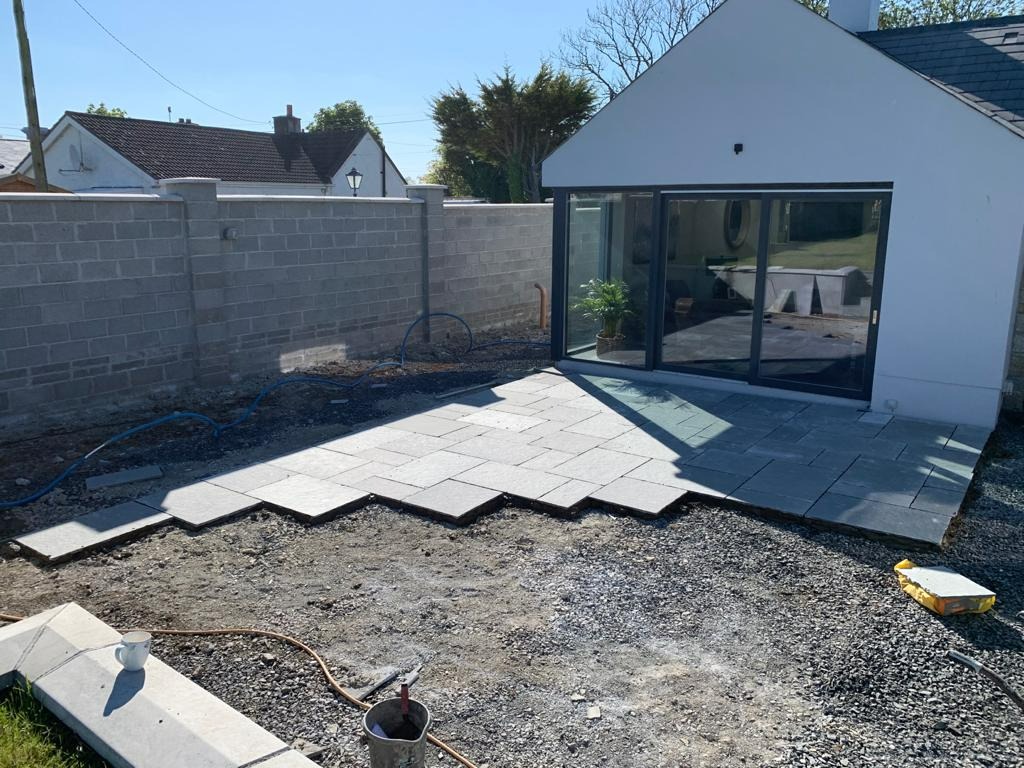
Firstly, you must decide where you want your pavement to be situated. There’s a few factors you should consider before choosing the best area to lay your sandstone paving slabs. Make sure the selected area is firm, level and well drained. Mark out the area using spray paint.
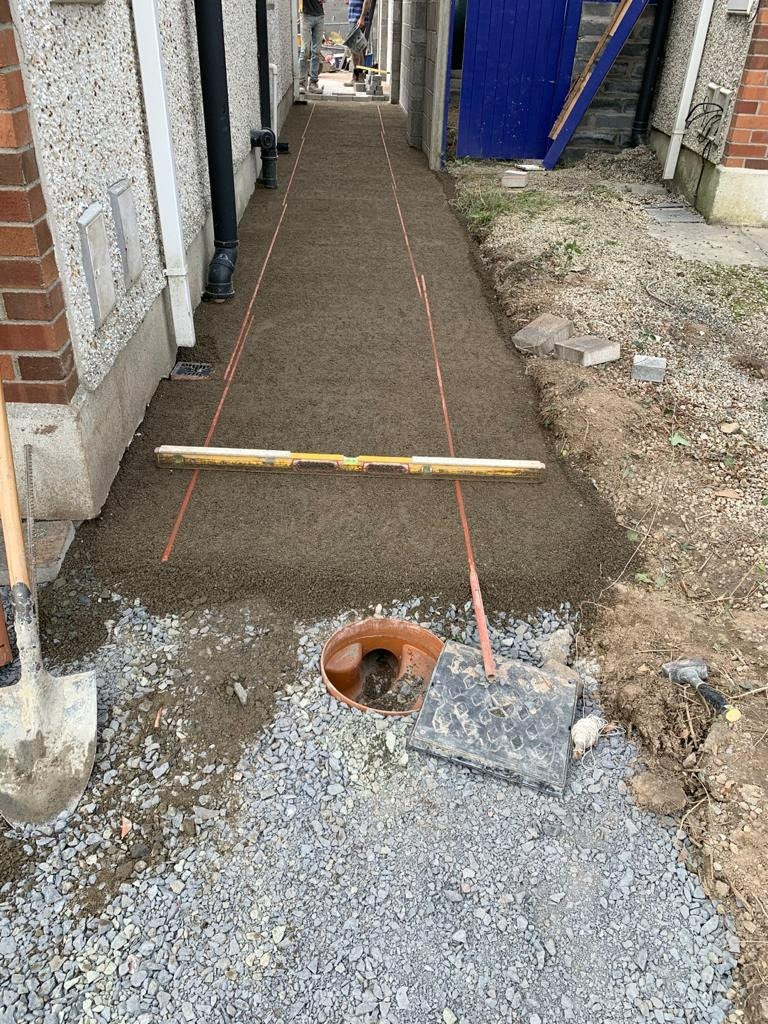
Next grab your shovel and get down to a bit of digging. You must start by digging out your marked area. We advise that you dig 125mm at the minimum, plus the depth of your paving. You must remove all vegetation and top soil. Your finish surface depth should be 150mm or more.
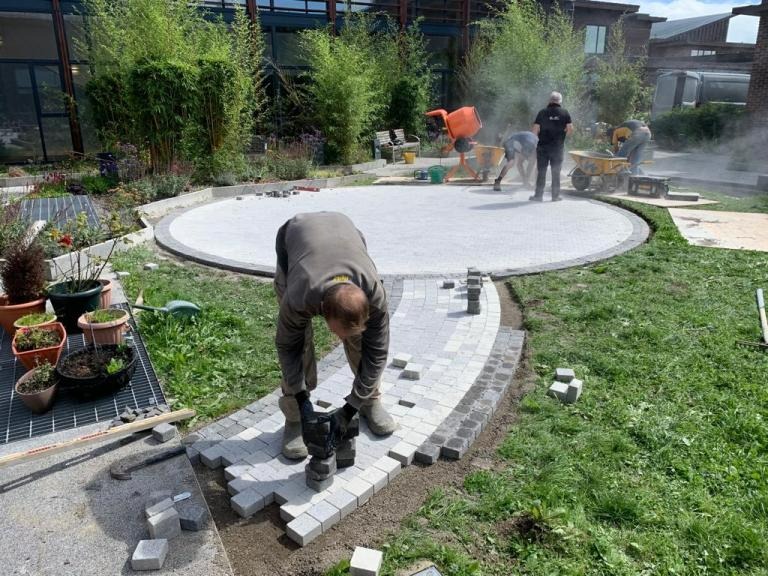
You cannot lay your slabs on soil or on top of grass. We strongly recommend that you use a wet mortar with a ratio of 5:1 wet mix of plastering sand and cement. Starting from a corner is the best option. Trowel five large dabs of mortar at each corner and also in the middle of each slab as it will give you a full bed of mortar. It is absolutely essential that natural stone paving is laid on a full bed of mortar, this will prevent any slabs rocking or coming loose.
Your slabs will all vary in thickness, the thicker slabs should be used first, use your rubber mallet to tap your slab into the mortar. The use of the rubber mallet will ensure that your slabs won’t crack while putting them in. Once the first slab is laid you can put five more dabs of mortar onto the next slab. If you want to minimise the amount of pointing you will need to do, you could also lay a strip of mortar where the next joint will be.
Throughout the laying process keep using a spirit level checking all the levels and falls. This is necessary because it will help create a patio with a slight fall in it, which will help make sure the area is drained properly. Certain slabs will need cutting. If you have decided to go for sandstone slabs the recommended tool to cut them with is a consaw.

In the aftercare of your natural stone slabs we suggest that you seal your sandstone/limestone every 2-3 years. In our view the best sealer on the market is Stontex Platinum Stone Sealer, this product is available to purchase on our website. Sandstone can sometimes be prone to flaking on the surface. As it is a natural product this cannot be prevented, the only remedy is to brush away any pieces of stone that flake off.
Like everything there is a right way and a wrong way of doing things and this is no different. Here’s a few things to be careful of when installing your slabs. The simplest bit of advice is to make a plan before you start the construction process and you should also consult a paving expert before undergoing your project.
Make sure that your joints are running both ways, both transversely and longitudinally. It is vitally important that you get the ratio right when mixing your mortar. If your mortar is too wet water will leak out and if it’s too dry it will eventually crumble. Another big mistake people can sometimes make is they under buy the amount they need.
We advise that you slightly over-buy as tiles/slabs come in batches with every tile/slab in the batch having a similarity if you order a little amount at a time you could possibly end up with mismatches.
All the products you would need to complete your patio and improve your outdoor lifestyle are available to purchase on our website, such as limestone and sandstone slabs plus all the other paving accessories. If you follow these instructions, we have no doubt you will/ do a great job laying your natural paving slabs.

Why Tile Merchant?
We offer extremely competitive pricing on our entire range of tiles and likewise. We stock a huge range of wall and floor tiles and our prices are competitive for retail and trade. Our stock is widely available in our tile stores in Dublin and Ashbourne (Co. Meath) which are open 7 days a week.
Alternatively, if you’d prefer to shop our tiles online, we can supply you with samples delivered for free.