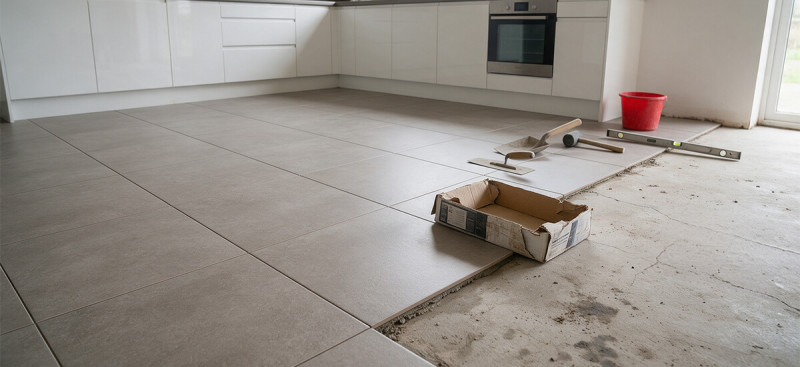

Picture this. The tiler is booked for Monday, the floor is prepped, and you're three-quarters of the way across the kitchen when the last box runs out. You check the order. You check the room. You swear you measured it properly. Now you're ringing around to see whether the same batch is still in stock, while the tiler waits and the clock ticks on a day rate.
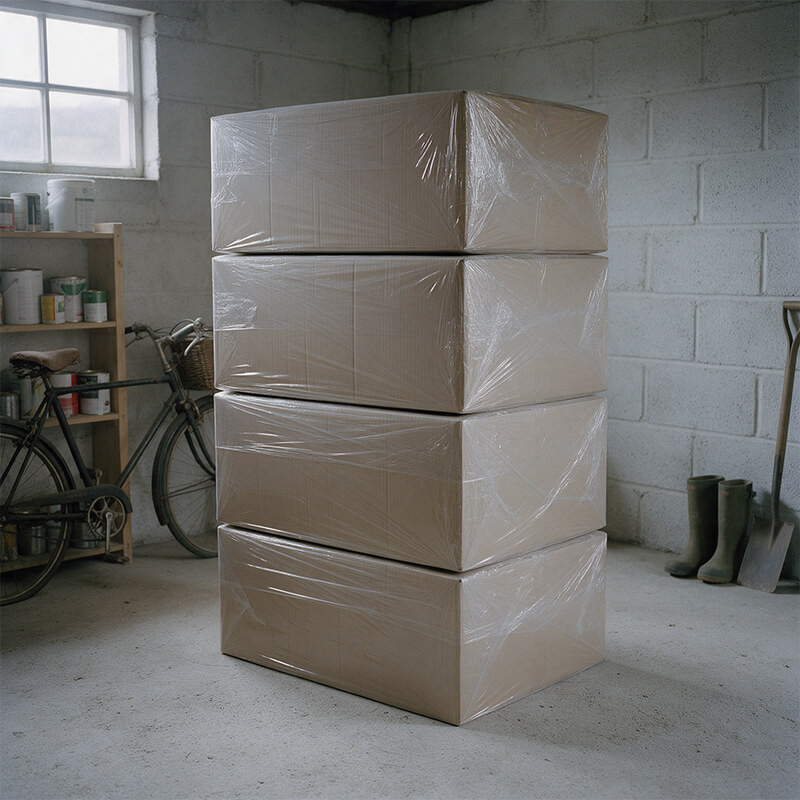
The opposite outcome isn't much better. Four unopened boxes stacked in the garage, a few hundred euro of tile you'll never use, and a vague sense that you were just too cautious.
Both come from the same place: guessing. The good news is that you don't have to. Here's how I'd answer "how much tile do I actually need?" in about two minutes, using the quantity calculator on every Tile Merchant tile page.
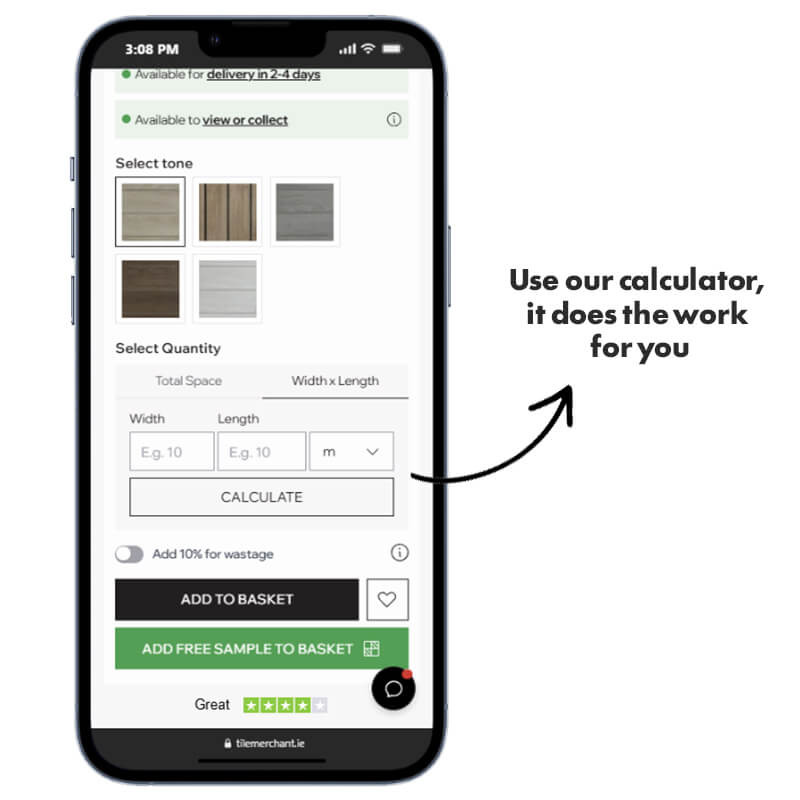
Use our calculator, it does the work for you
nce you have your measurements, our website does the rest.
On any tile product page you'll find a quantity calculator with two options. Enter your total coverage in m² and it tells you exactly how many boxes or tiles to order. No working out how many tiles for 1 m² at a given size, no dividing floor area by tile area on the back of an envelope, no rounding up and hoping.
The workflow is short:
-
Measure the area you're tiling and work out the total in m².
-
Enter that figure into the calculator on the tile's product page.
-
Add your wastage allowance (more on that below).
-
Add the tiles to your basket, where grout and adhesive are calculated for you.
That's it. If you're renovating several rooms at once (kitchen, hallway, utility, maybe the living area), repeat the process for each tile and you'll have a clear, room-by-room picture of what you're buying before you commit to anything.
Start with your measurements
A calculator is only as good as the number you feed it. Most ordering mistakes happen here, not in the maths.
How to measure a room for tiles
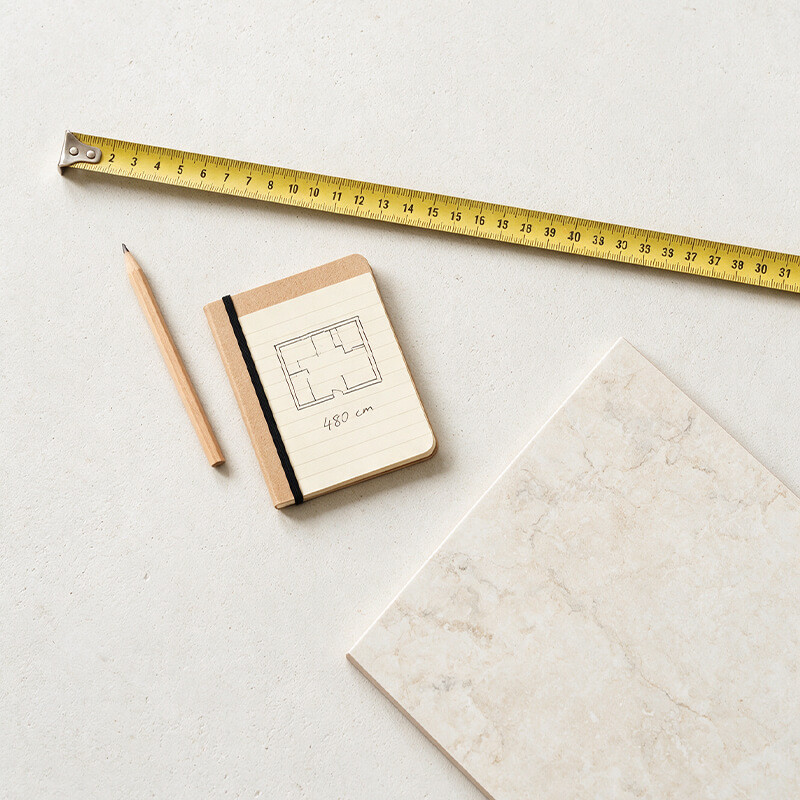
For a simple rectangular floor, measure the length and the width in metres, then multiply them. A kitchen that's 4.2 m by 3.5 m is 14.7 m². Use a tape measure rather than pacing it out, and write the numbers down as you go. Keep everything in metres (4.2, not 420 cm) so you don't slip a decimal point.
Most rooms aren't a perfect rectangle, so split them up:
-
L-shaped or awkward rooms: divide the floor into rectangles, measure each one, and add the areas together.
-
Alcoves and bay windows: treat them as their own small rectangles and add them on.
-
Fixed obstacles: a kitchen island or built-in unit that won't have tile under it can be taken off. Be honest about it, though. If a cabinet might move, or tile will run underneath, leave it in.
-
Doorways: if the tile continues through the threshold, include that strip.
Measure twice. It takes a minute, and it's the cheapest insurance in the whole project.
A quick note on scope: this walkthrough is floor-focused. If you're tiling walls too, work out each wall's area separately and check what the calculator on your chosen tile's page supports before you rely on a single combined figure.
Check the tile size before you commit
Large-format tiles and small ones behave differently on the same floor. A 120x60 tile covers far more ground per piece than a 30x30, but it also leaves bigger offcuts at the edges. The calculator handles the box maths for whichever tile you select. Just make sure you've picked the actual format you intend to lay, not one you're only considering, before trusting the number.
Always add 10% for wastage, and here's the real reason why
Most people hear "add 10% extra" and assume it's insurance against dropping a tile. Breakage is part of it, but it's the smaller part.
The real reason is cuts.
Unless your room happens to be an exact multiple of your tile size (it won't be), the final tile in every row has to be trimmed to fit. Add the cut around door frames, pipes, radiator tails, and the odd corner that isn't square, and you're throwing away a piece of tile at nearly every edge. Some offcuts get reused to start the next row. Plenty don't, because the cut piece is too small or the wrong shape to be useful elsewhere.
Add the other things that happen on a real job: a tile with a chipped corner in the box, a miscut while the tiler finds their rhythm, and tiles you set aside because the pattern or shading doesn't line up nicely. That's what the 10% is for.
Is 10% always the right number?
For a standard, straightforward layout, it's a sensible baseline. Stone Superstore, a UK retailer, recommends adding 10% extra tiles for standard room sizes and uniform rectangular spaces, and that matches what we'd tell you.
It isn't a universal rule, though. The same retailer suggests 10% to 15% for more complex spaces, such as bathrooms with awkward boxing-in and fixtures. And the UK-based TileCalculator.co.uk takes it further, using different wastage percentages by laying pattern and adding a room-complexity adjustment of 2% to 5% on top, rather than one blanket figure.
So treat the tile waste percentage like this:
-
Straight, grid-style layout in a simple room: 10% is a good starting point.
-
Bathrooms, rooms with lots of corners, boxing, or pipework: lean towards the 10% to 15% end.
-
Diagonal layouts: every edge tile is cut at an angle, so waste climbs. Expect to go higher than you would for straight lay.
-
Herringbone and other feature patterns: these usually demand the most extra, because the pattern only works if the cuts land in the right places.
-
Large-format tiles: the offcuts are bigger, and a single mistake costs you more of your order. If your room is tight or awkward, give yourself some room to breathe.
If you're unsure, ask your tiler. They'll have a feel for how your layout cuts, and it's a quick conversation that can save you a second delivery.
The emotional case for the extra boxes
I'd rather you finish with half a box left over than run short by six tiles. Tile can vary slightly between production batches in shade and finish, so a top-up order weeks later may not match perfectly. That's the mismatch anxiety nobody wants to find out about after the first rows are down.
There's also a practical use for those spare tiles. Keep them. If a tile cracks in five years because something heavy dropped on it, you'll have an exact match to replace it with. Surplus becomes a repair kit.
What about grout and adhesive? Good news here
This is where a lot of projects stall. You've ordered the tiles, they're on the way, and now you're googling "how much grout per m²" and "how much tile adhesive per m²" and getting a dozen different answers depending on tile size, joint width and trowel notch.
We've taken that step off your plate. When you add tiles to your basket on our website, we automatically calculate the quantity of grout and adhesive you'll need for the job. It's built into the basket, so there's no separate grout and adhesive calculator to hunt for and no spreadsheet to build.
Why does that matter? Because grout and adhesive are the items most often forgotten or under-bought. Order too little adhesive and you're stuck mid-floor, same as running out of tile. Forget grout altogether and the job can't be finished. Having the figures appear beside your tiles means the whole shopping list comes together in one place, which is what you want when you're juggling a builder, a tiler, a kitchen fitter and everything else.
Once you're happy with what's in the basket, you can go straight to checkout. The quantities are done.
Quick checklist before you order
Before you press the button, run through these:
-
Tile size and format: does the tile in your basket match the one you measured for?
-
Layout: have you picked the right pattern (straight, diagonal, herringbone) and adjusted your wastage to suit?
-
Wastage: have you added your allowance, 10% as a baseline and more for complex rooms?
-
Rooms: if you're tiling several areas, is each one in the order, with its own measurement?
-
Samples: if colour or finish matters, have you seen the tile in your own light?
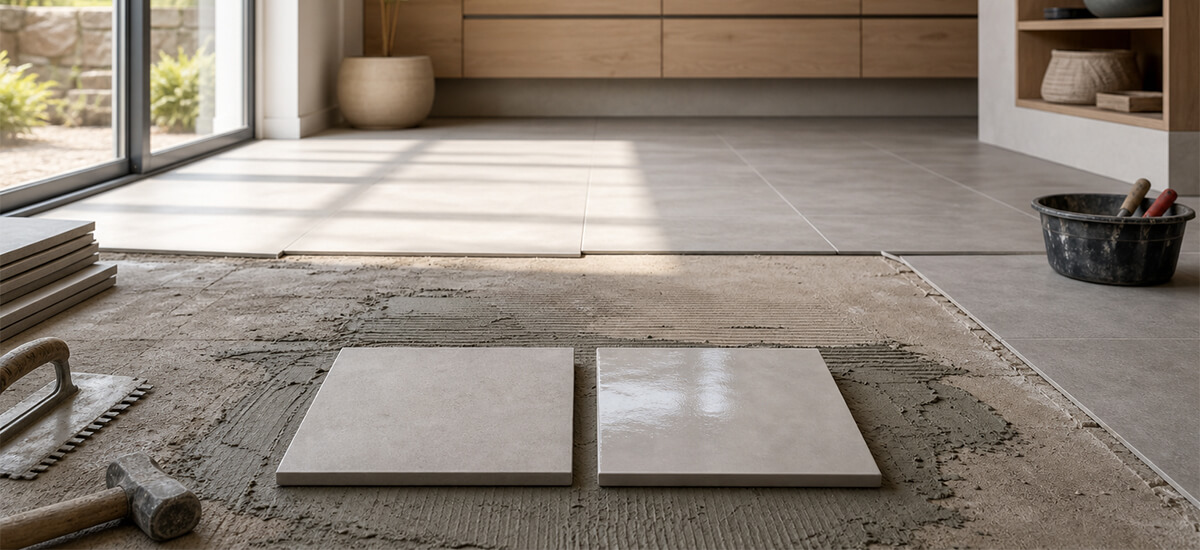
That last one is worth a second look. Colour and finish can look very different on a screen than on your floor, in your light, next to your units. Our free tile samples are there for exactly this reason, and customers regularly tell us theirs arrived within about two days. Order a few, leave them on the floor for a day or two, and only then settle on your final choice. Then come back, run the calculator again for the tile you've actually picked, and order once.
Order once and move on
Working out how much tile you need isn't complicated. Measure honestly in metres, enter your total m² into the calculator on the tile's product page, add at least 10% for the cuts you can't avoid, and let the basket sort out your grout and adhesive.
That's the whole job. And if you'd rather talk it through with a person first, our team is a phone call away, and our showrooms in Ireland e are open seven days a week.
Have you got a tricky layout you're not sure how to measure? Pick a tile, try the calculator, and see how it adds up.
Why Choose Tile Merchant?
Ready to start? Browse the full tile range on tilemerchant.ie.
We offer extremely competitive pricing on our entire range of tiles and likewise. We stock a huge range of wall and floor tiles, and our prices are competitive for retail and trade. Our stock is widely available in our tile stores in Ireland, which are open 7 days a week.
Alternatively, if you’d prefer to shop our tiles online, we can supply you with free samples delivered for free.

 Website