
- Introduction
- What Tools Do You Need to Drill Through Porcelain Tiles?
- Drill Bit Sizes Explained
- How Do You Drill Through a Porcelain Tile Without Cracking It?
- What Should You Avoid When Drilling Tiles?
- How to Drill Ceramic Tiles?
- Indoor vs Outdoor Tiles: What’s the Difference?
- Why Use Diamond Drill Bits?
- Final Tips for Success
- Ready to Get Started?
- Planning A Renovation?
- Why Choose Tile Merchant?
Introduction
Drilling into porcelain or ceramic tiles can feel intimidating. You’ve got your new bathroom wall tiled perfectly, or your outdoor patio laid with beautiful 20mm slabs, and suddenly you need to hang a shelf, install a fixture, or run cables. The thought of cracking or chipping that pristine surface is enough to make anyone hesitate.
The good news? With the right tools, a bit of know-how, and a steady hand, drilling through tiles doesn’t have to be stressful. In this guide, we’ll show you how to drill through tiles safely and effectively, whether you’re working with delicate 10mm indoor tiles or tougher 20mm outdoor porcelain tiles.

Can You Drill Into Tile?
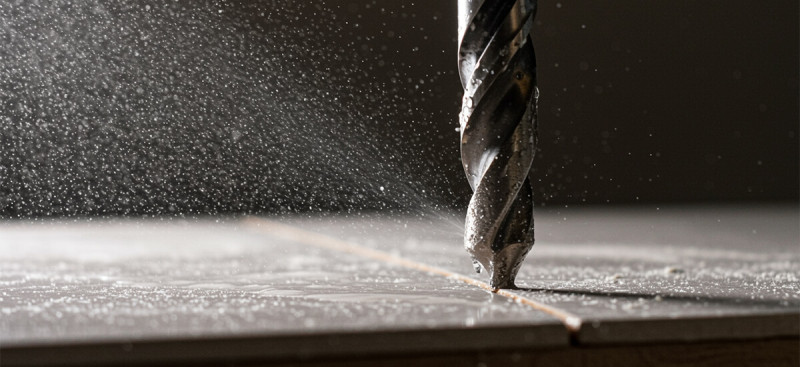
Yes. Both porcelain and ceramic tile can be drilled without cracking, provided you use a diamond-tipped bit rather than a standard masonry bit, keep the drill on a non-hammer setting, and keep the bit cool with water throughout. The tile itself isn't the limiting factor. The wrong bit or drill setting is what causes cracks and chips, not the material.
The main exception is very thin or already-cracked tile, where the surrounding glaze may not hold up to any drilling. If a tile already has a hairline crack near where you need to drill, it's worth replacing that tile first rather than risking it spreading.
What Tools Do You Need to Drill Through Porcelain Tiles?
Before you even think about picking up a drill, preparation is key. The right tools will save you time, frustration, and broken tiles. Here’s what you’ll need:
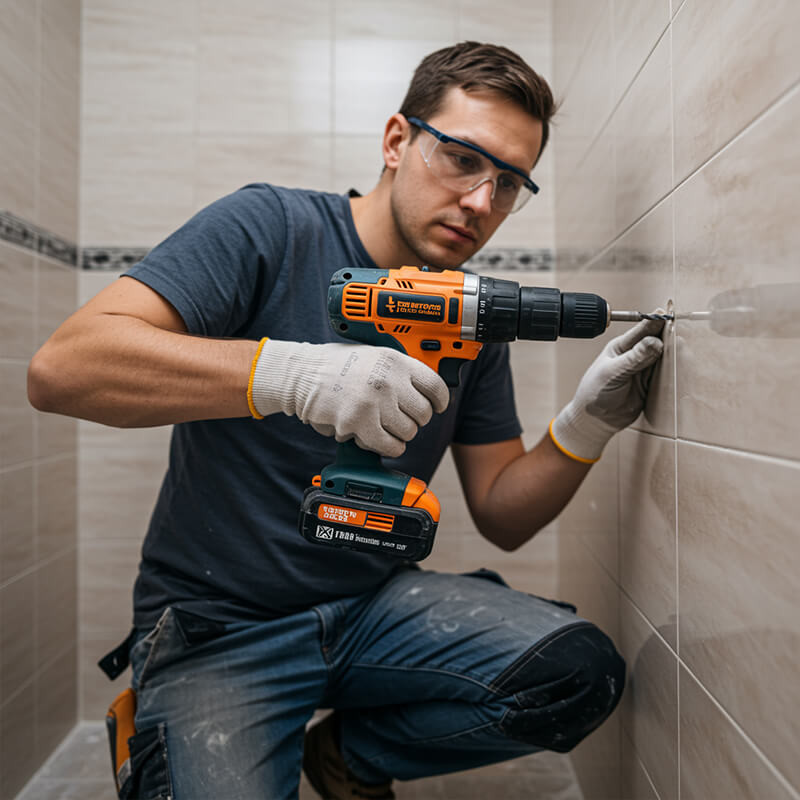
- Drill (a regular cordless drill works fine; just avoid hammer mode)
- Diamond drill bits (essential for porcelain and ceramic)
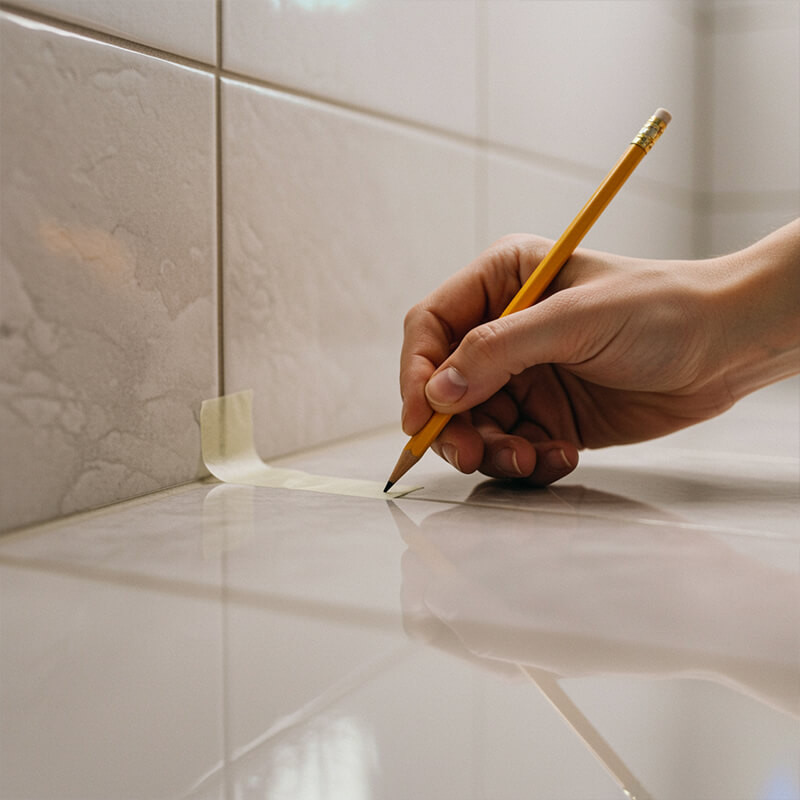
- Masking tape (helps prevent slipping)
- Water spray bottle or sponge (keeps the drill bit cool)
- Marker pen (to mark your drilling spot)
- Protective glasses (safety first)
At Tile Merchant, we stock professional-grade bits like Alpha Tools and Rubi drill bits, along with other essential tile tools. Both brands are trusted by tilers across Ireland for tackling hard porcelain tiles without damage.
Drill Bit Sizes Explained
Depending on what you’re installing, you’ll need different hole sizes:
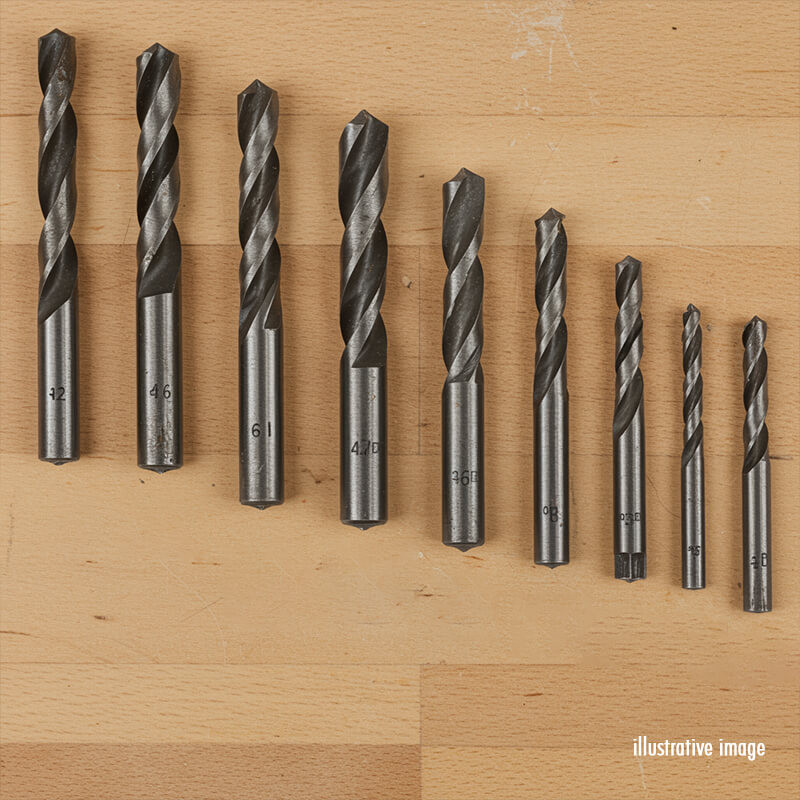
- 6mm–8mm: Ideal for wall plugs, screws, and small fittings.
- 10mm–12mm: Great for slightly larger fixings or anchors.
- 20mm–28mm: For pipework, taps, or shower fittings.
- 35mm–43mm: Large access holes, sockets, or waste outlets.
Think of it like this: the thicker the tile (indoor 10mm vs outdoor 20mm), the more patience you’ll need, but the process stays the same.
Starting Small: Pilot Holes for Precision
For any hole above 10mm, drill a smaller pilot hole first, around 3mm–4mm, before switching to your target bit size. This gives the larger bit a starting point to key into rather than skating across the glazed surface, which is the main cause of the bit slipping and scratching or chipping the tile on the first few seconds of contact.
For holes under 8mm (standard wall plugs), a pilot hole usually isn't necessary if you've taped and marked the spot properly, as described below.
How Do You Drill Through a Porcelain Tile Without Cracking It?
Porcelain is tough, much tougher than ceramic, so the technique matters. Follow these steps:
- Mark the Spot: Place masking tape over the area and mark your drill point. This prevents the bit from slipping.
- Go Slow: Start with a low drill speed. Let the bit grind into the surface rather than forcing it.
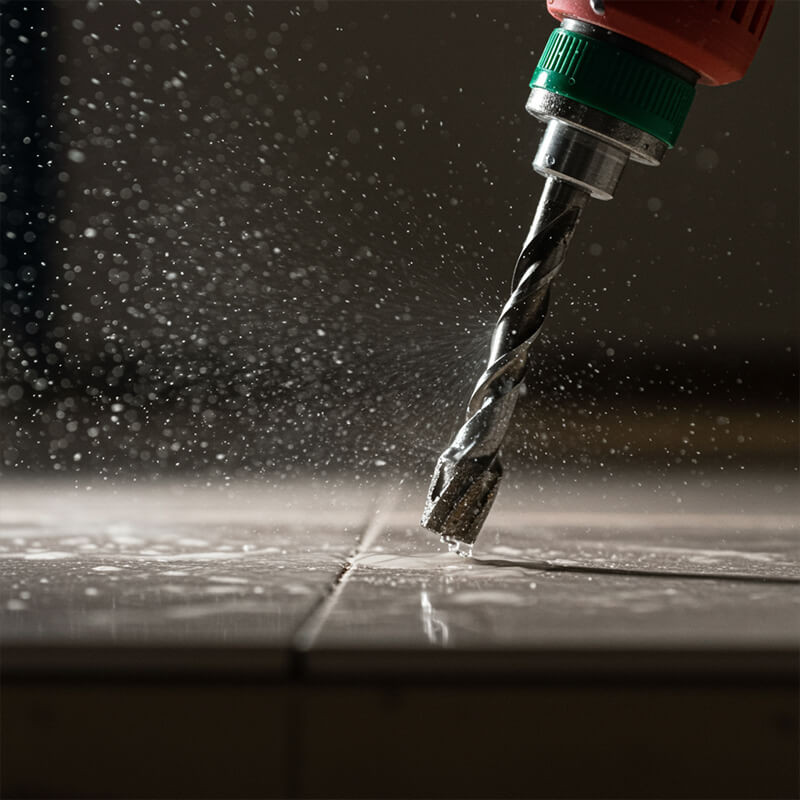
- Cool the Bit: Apply water continuously to stop overheating. A spray bottle or sponge works perfectly.
- Steady Pressure: Keep firm but gentle pressure, don’t push too hard.
- Drill Through: Once the bit penetrates the glaze, you can increase speed slightly until you’re through.
The biggest mistake is impatience. Rushing can cause cracks, chips, or burnt-out drill bits. Take your time, and the result will be a neat, clean hole.
What Should You Avoid When Drilling Tiles?
Knowing what not to do is just as important:
❌ Avoid hammer drills; they’ll shatter porcelain.
❌ Don’t skip cooling; overheating ruins bits and risks cracks.
❌ Don’t push too hard; let the diamond bit do the work.
❌ Avoid cheap drill bits; porcelain is unforgiving, and only proper tools last.
By avoiding these pitfalls, your tiles stay flawless and your tools last longer.
How to Drill Ceramic Tiles?
Ceramic tiles are softer and more forgiving than porcelain. The steps are nearly identical, but you can use carbide-tipped bits if you don’t have diamond bits on hand. Still, we recommend diamond drill bits. They’re versatile and handle both ceramic and porcelain with ease.
When drilling ceramic, you won’t need as much patience. The glaze is thinner, and the tile cuts faster. But don’t be fooled, applying too much pressure can still cause chips.
Do you live in Ireland? Visit a Tile Merchant store today and explore our stunning range of wall and floor tiles. Whether you're looking for porcelain tiles, ceramic tiles or wall panels, we have it all!
Indoor vs Outdoor Tiles: What’s the Difference?
Indoor Tiles (10mm porcelain or ceramic): Easier to drill, perfect for shelves, mirrors, and bathroom accessories.
Outdoor Tiles (20mm porcelain): Denser and thicker, requiring more time and higher-quality drill bits. Often used for patios, steps, and driveways.
If you’re working outdoors, using premium drill bits from Rubi or Alpha Tools is essential.
Drilling Into Already-Installed Bathroom Tiles
Drilling into a wall that's already tiled carries one extra risk beyond the tile itself: what's behind it. Before drilling, check for pipework and electrical cables using a cable and pipe detector, especially near sinks, showers, and any wall that backs onto a kitchen or another bathroom.
Where possible, position fixings in the centre of a tile rather than on or near a grout line. Grout has less structural strength than the tile body, and a bit that wanders onto a grout line is more likely to chip the tile edge than one drilling cleanly through the centre.
If you're fixing something heavy, like a towel rail or a grab rail, check whether there's a stud or solid backing behind the tile at that point. A wall plug on its own, drilled through tile into a hollow stud wall, won't hold significant weight regardless of how clean the hole is.
Why Use Diamond Drill Bits?
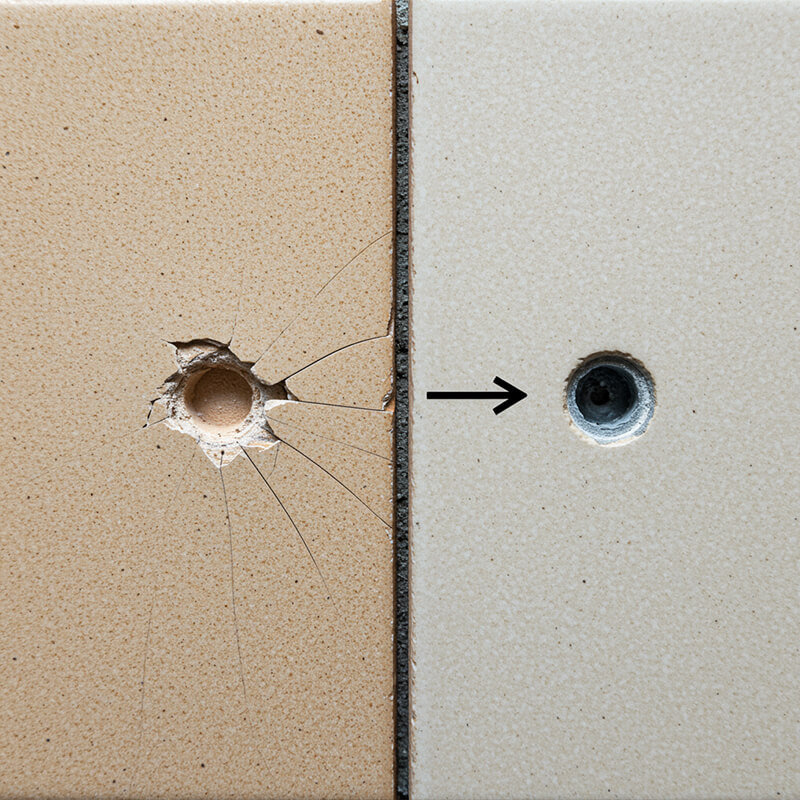
Diamond drill bits are coated with industrial-grade diamond grit, making them strong enough to cut through even the hardest porcelain tiles. The benefit? Clean, chip-free holes every time.
If you’ve ever tried to drill with a standard masonry bit, you’ll know how frustrating it is; it slips, overheats, and rarely makes it through without damage. That’s why professional tilers in Ireland rely on brands like Alpha and Rubi for consistent results.
Final Tips for Success
- Always measure twice, drill once.
- Use masking tape to guide the drill.
- Keep water close by, don’t drill dry.
- Start small, then work up to larger bit sizes if needed.
Drilling tiles doesn’t have to be nerve-wracking. With the right tools and patience, you can take on any DIY project, whether it’s hanging a towel rail in your bathroom or setting up outdoor lighting on your porcelain patio.
If you think drilling through tiles is a challenge, wait until you see what’s possible with a little determination. One of our customers, a 67-year-old gentleman, built his own dream patio using a sandstone paving circle. It’s a story that proves you’re never too old, or too inexperienced, to take on a project and succeed. ? Read how he built his dream patio here.
FAQs: Drilling Through Tiles
Can you drill into tile?
Yes, both porcelain and ceramic can be drilled safely with a diamond-tipped bit on a non-hammer setting, kept cool with water throughout.
How do you drill through porcelain tile without cracking it?
Mark the spot with masking tape, start on a low drill speed, keep the bit cool with water, apply steady rather than forceful pressure, and only increase speed once the bit has penetrated the glaze.
What drill bit do you need for porcelain tile?
A diamond-tipped drill bit. Carbide-tipped bits will work on softer ceramic tile but struggle with porcelain's hardness and are more likely to overheat or slip.
Can you use a hammer drill on tile?
No. Hammer mode will shatter porcelain and ceramic tile. Use a regular cordless drill on a standard, non-hammer setting.
How do you drill a small hole in porcelain tile?
Start with a small pilot hole, around 3mm–4mm, before switching to your target bit size. This gives the larger bit a starting point and prevents it slipping across the glazed surface.
Is it safe to drill into bathroom tiles that are already installed?
Yes, provided you check for pipes and cables behind the wall first, position the hole in the centre of a tile rather than on a grout line, and confirm there's solid backing behind the tile if you're fixing something heavy.
What's the difference between drilling ceramic and porcelain tiles?
Ceramic is softer and cuts faster, with a thinner glaze, so it needs less patience than porcelain. The technique is otherwise the same, and diamond bits work well on both.
Why does my drill bit keep slipping on the tile?
Usually because the surface hasn't been taped and marked, or because too large a bit is being used without a pilot hole first. Masking tape combined with a smaller starter hole gives the bit a point to key into instead of skating across the glaze.
Ready to Get Started?
At Tile Merchant, we stock the drill bits and accessories you need for the job. From Alpha Tools to Rubi, we’ve got professional solutions trusted by tilers across Ireland.
Don’t let the fear of cracking a tile stop your project. Get the right tools, follow our guide, and drill with confidence.
Planning A Renovation?
If you’re planning a bathroom, kitchen or outdoor renovation (no matter the project size), visit a local tile showroom to see options in person and talk with experts who can guide you based on your layout and lifestyle.
Have more questions about SPC Flooring? Send us an email to [email protected] or ? WHATSAPP us , we’re always happy to help you build your dream bathroom, one tile at a time.
Why Choose Tile Merchant?
We offer extremely competitive pricing on our entire range of tiles and likewise. We stock a huge range of wall and floor tiles, and our prices are competitive for retail and trade. Our stock is widely available in our tile stores in Ireland, which are open 7 days a week.
Alternatively, if you’d prefer to shop our tiles online, we can supply you with free samples delivered for free.

Article written by Tile Merchant